Cajun Shrimp & Rice with Homemade Bread & Cajun Butter

Wednesday, July 6, 2016

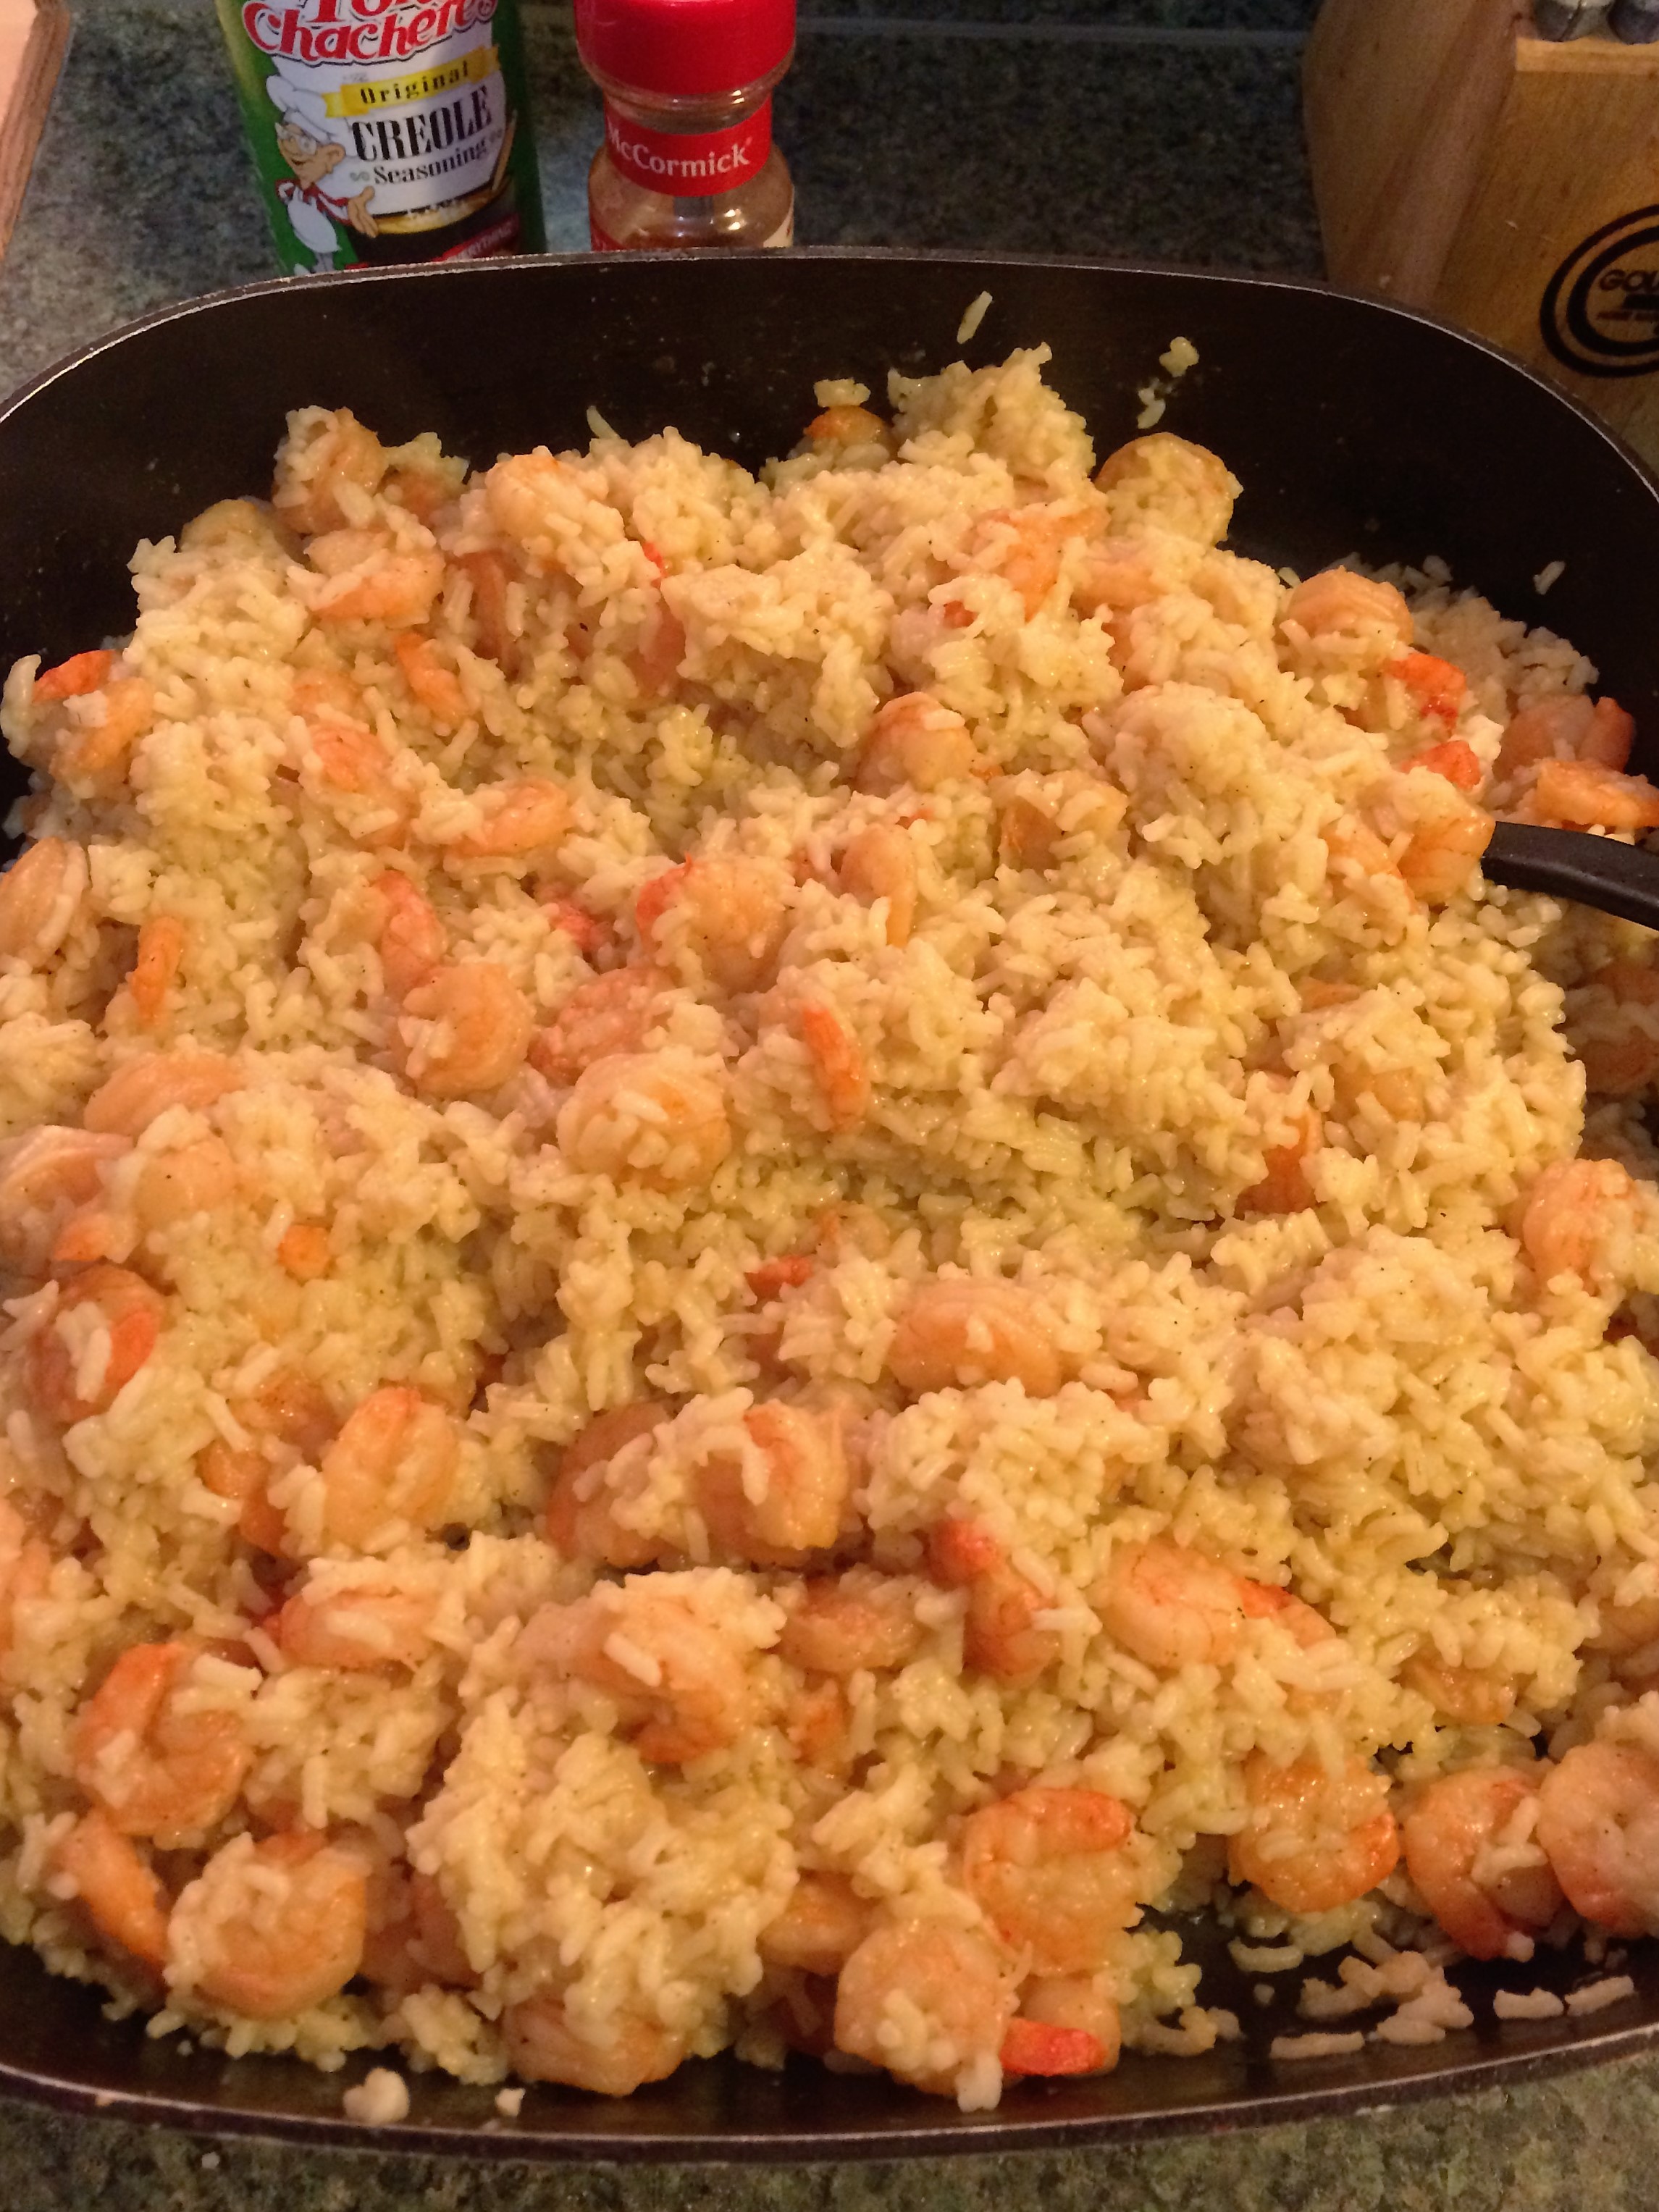
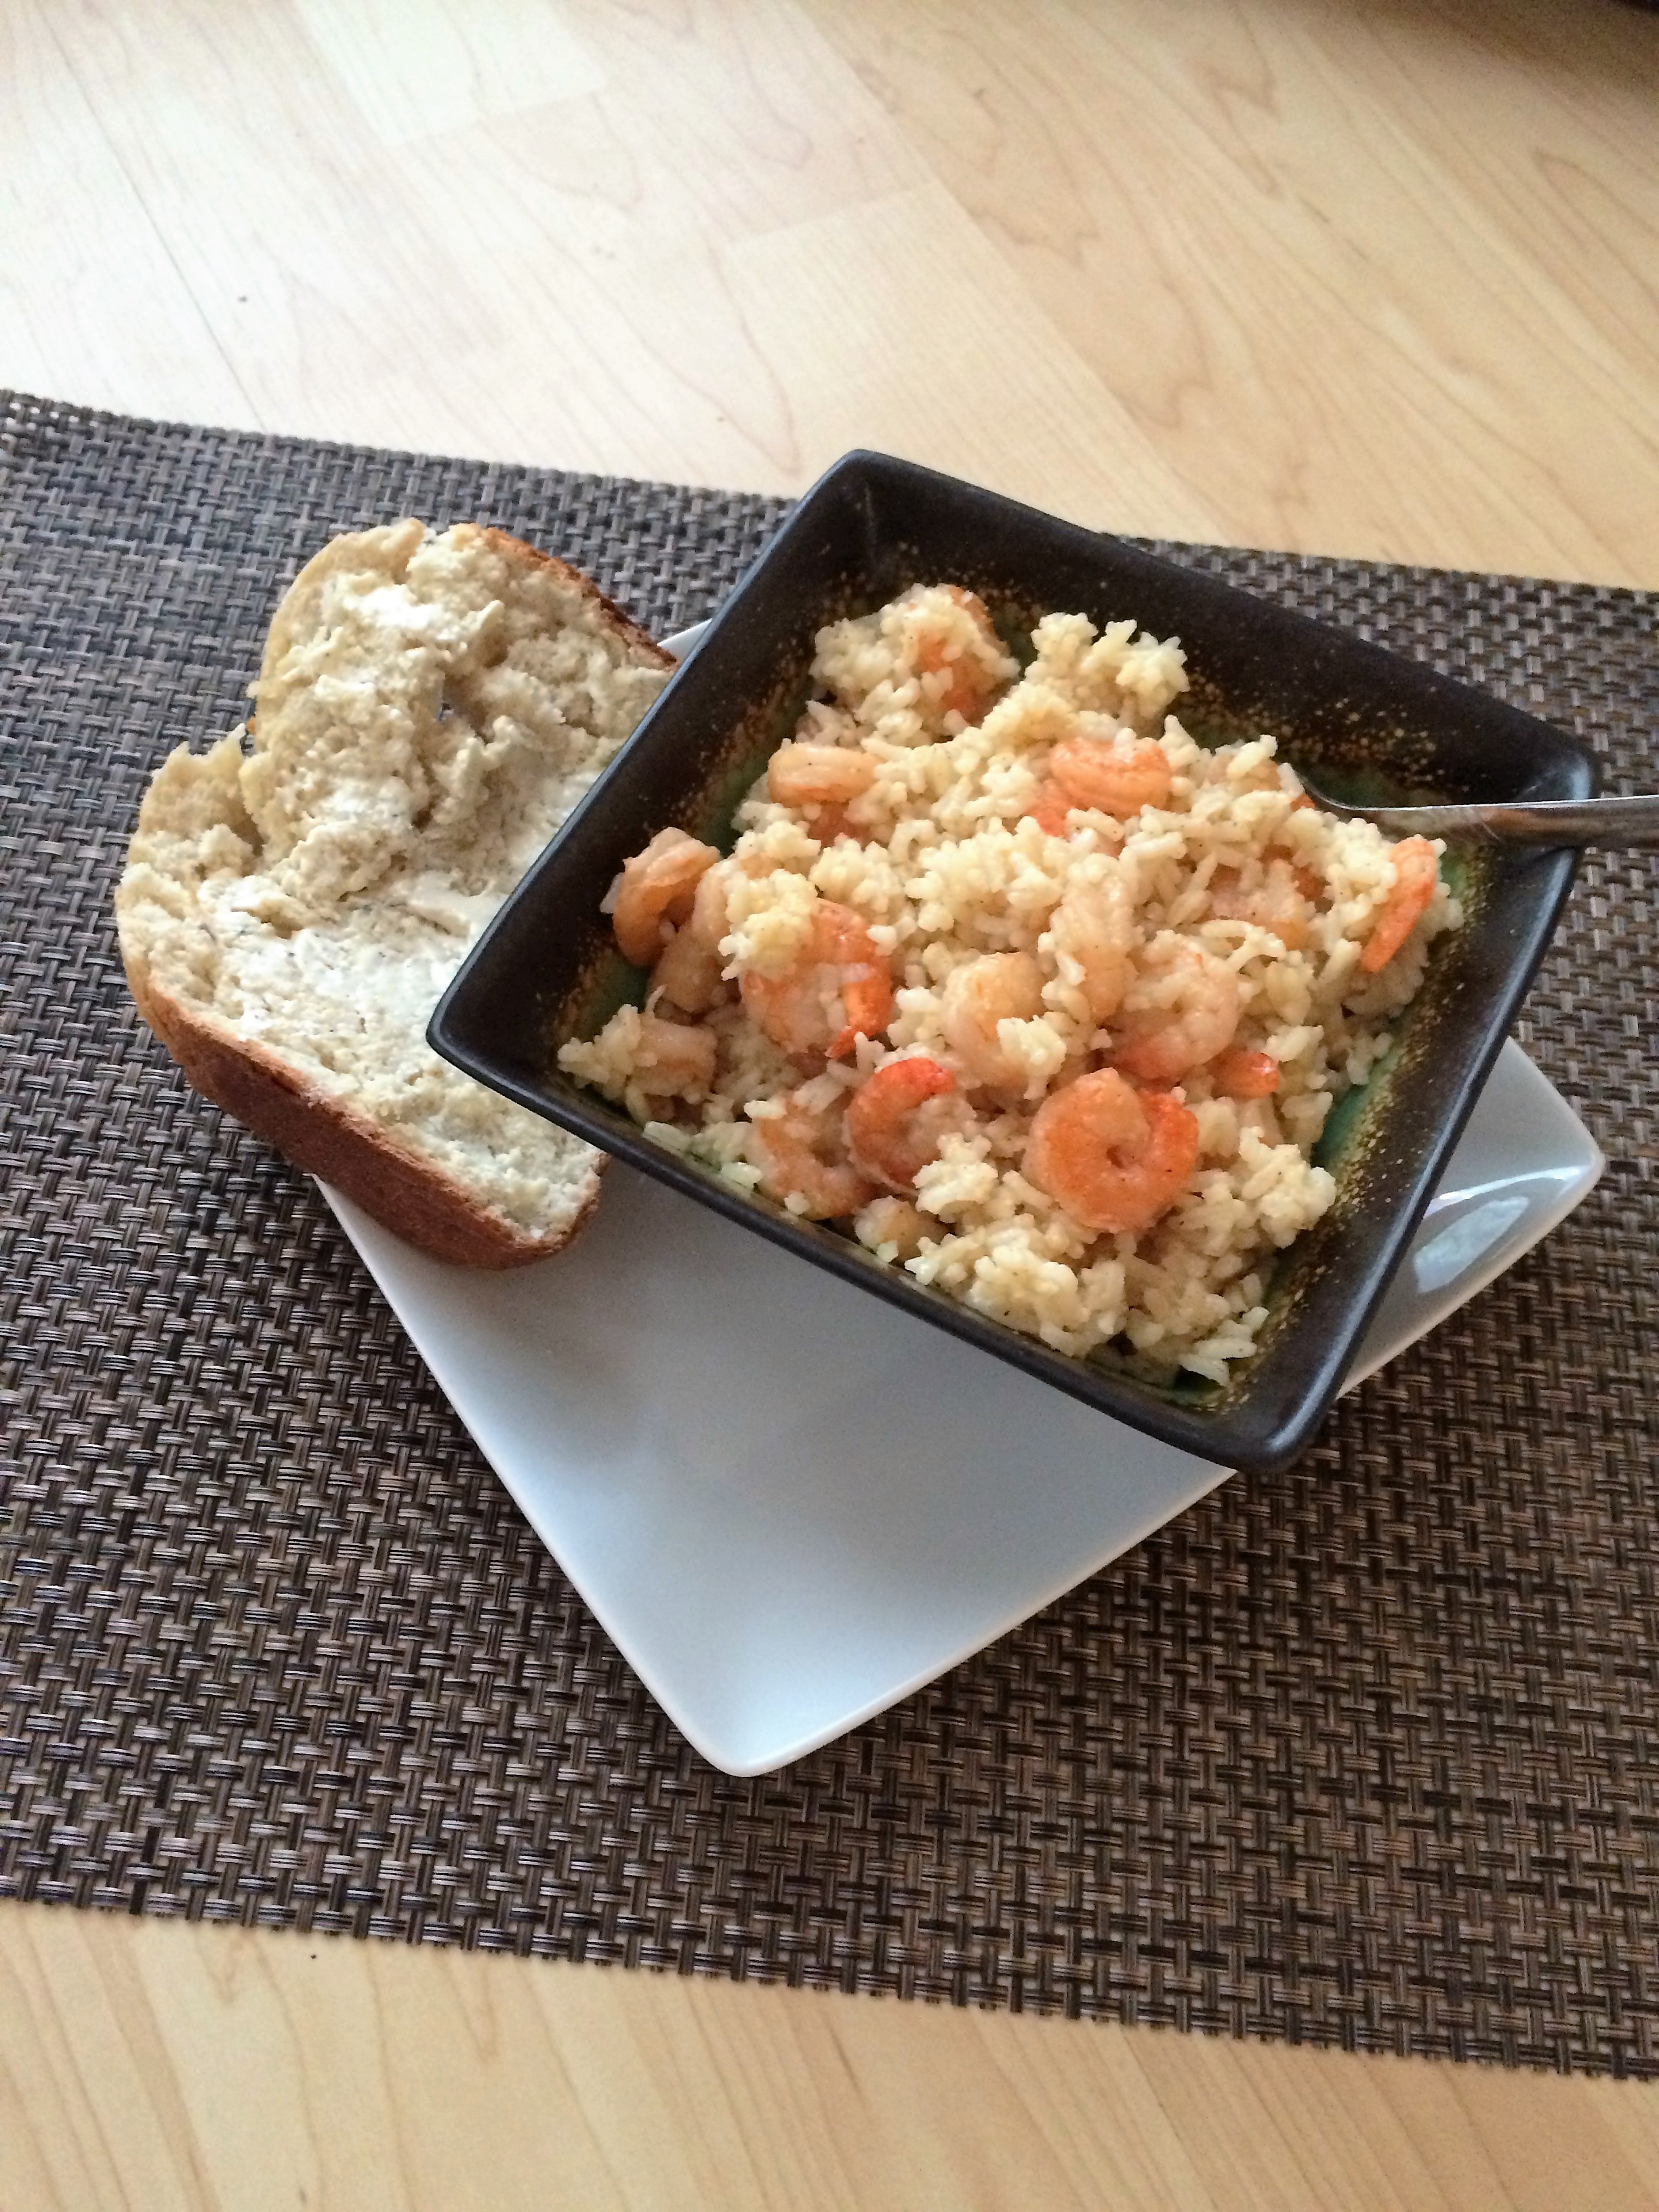
It was a Cajun theme in my kitchen today.  Here’s what was cooking – Cajun Shrimp and Rice and Homemade Bread with Cajun Butter.  Super simple!  I set my bread machine to bake an Express loaf of bread and pulled the rest of the meal together while the bread was baking.  Now, it all sounds a little fancy – just go ahead and let everyone think it is.  They’ll never guess how quick and easy this meal comes together.  They’ll think you were in the kitchen for hours… and maybe they’ll do the dishes! 🙂  Have a happy Wednesday, everyone!  Enjoy!

IMG_2040  IMG_2048

Cajun Shrimp and Rice

Ingredients:

2 tablespoons of butter, divided

2 tablespoons extra virgin olive oil

3 cloves of garlic, minced

2 teaspoons of Original Creole Seasoning (I use Tony Chachere’s)

1/2 teaspoon of Paprika

2- 12 ounce packages of frozen cooked shrimp, extra small, peeled, deveined, tail off

Salt and pepper to taste

1/4 teaspoon of onion powder

3 cups of cooked white rice

1/4 cup of water

Thaw shrimp in cold water per package directions.  Heat 1 tablespoon of butter, olive oil and garlic in a large skillet over medium-high heat until fragrant, about 1 minute.  Add Creole seasoning, paprika, and thawed shrimp and cook, stirring until the shrimp begin to curl, about 1-2 minutes.  Season with salt, pepper and onion powder.  Cook and stir for 1 minute.

Add cooked rice, water, and 1 tablespoon of butter.  Stir to incorporate ingredients.  Continue to cook for about 3 minutes stirring frequently so rice doesn’t stick to pan.  Give it a taste and add more salt if desired.

IMG_2042

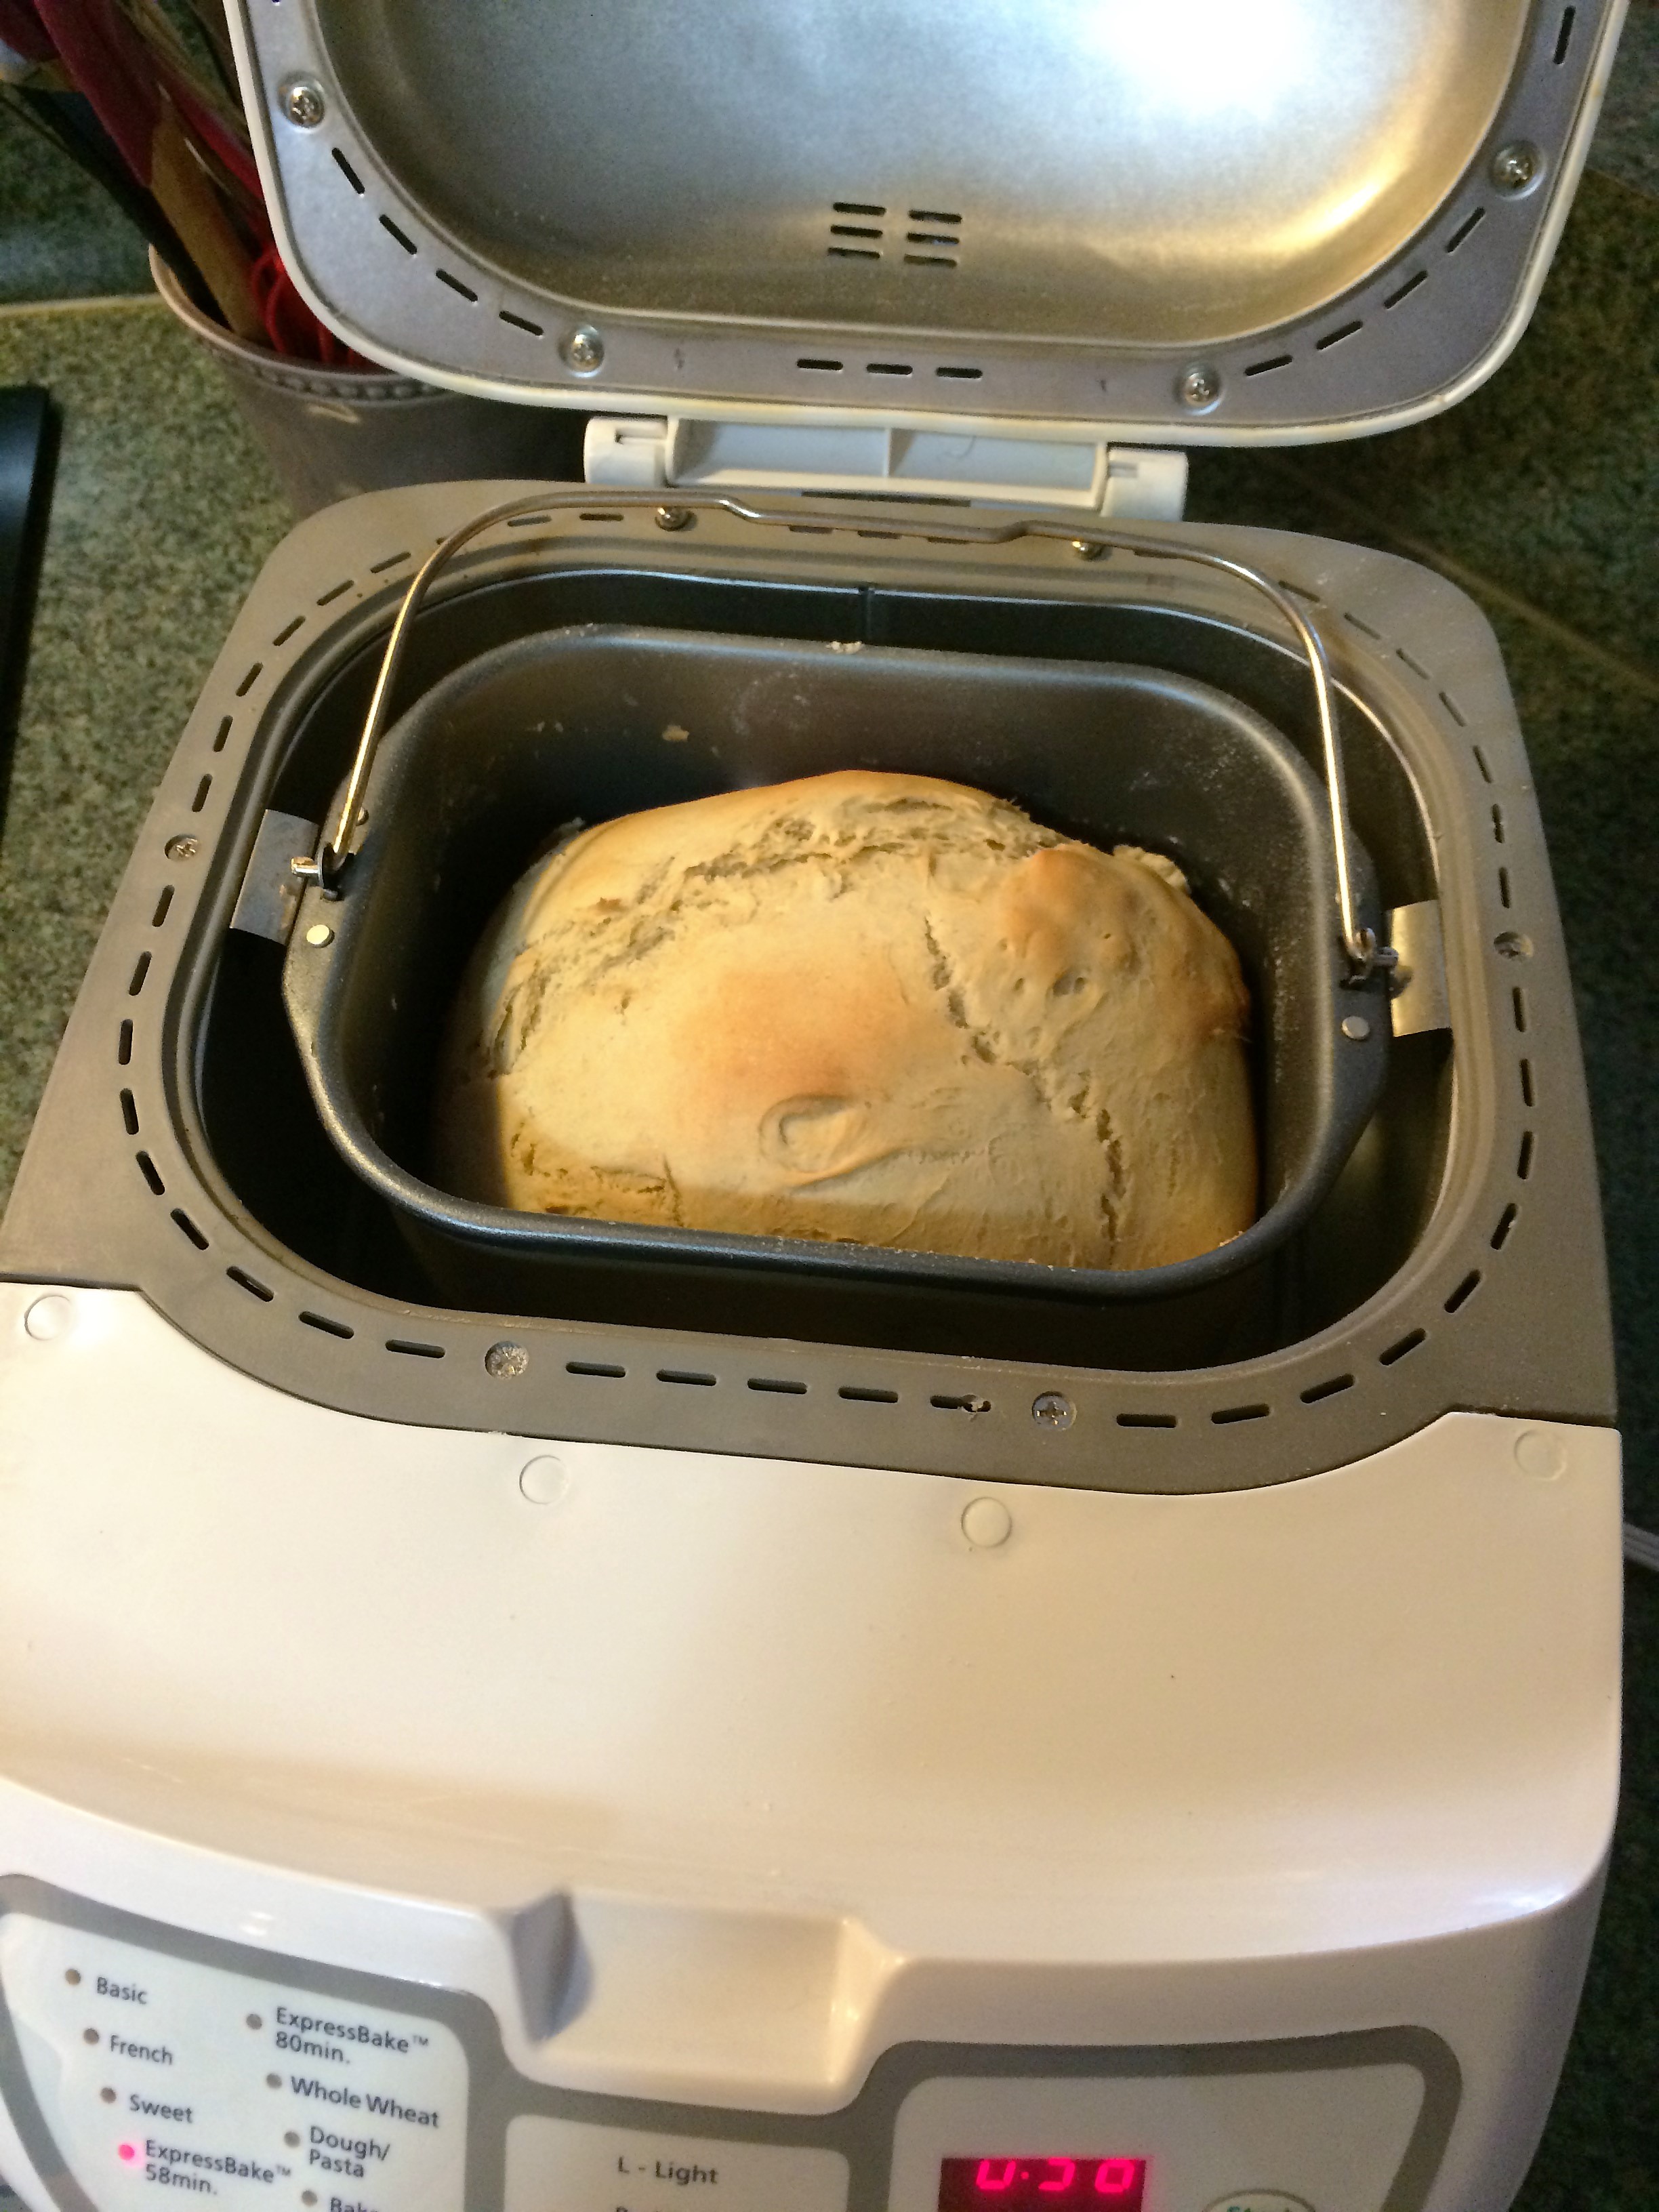
I love this Oster bread machine.  I’ve had it 15 years or more.  One Thanksgiving, I made 11 loaves of bread.  And, when everyone was preparing for Hurricane Katrina, staple foods quickly disappeared from grocery shelves and bread was hard to come by.   Thanks to this little bread machine, we were grateful to have bread for days.  I misplaced the Oster cookbook that came with it, so I was extremely excited to come across this recipe.  Anyway, that’s my story!  🙂

IMG_2044    IMG_2051

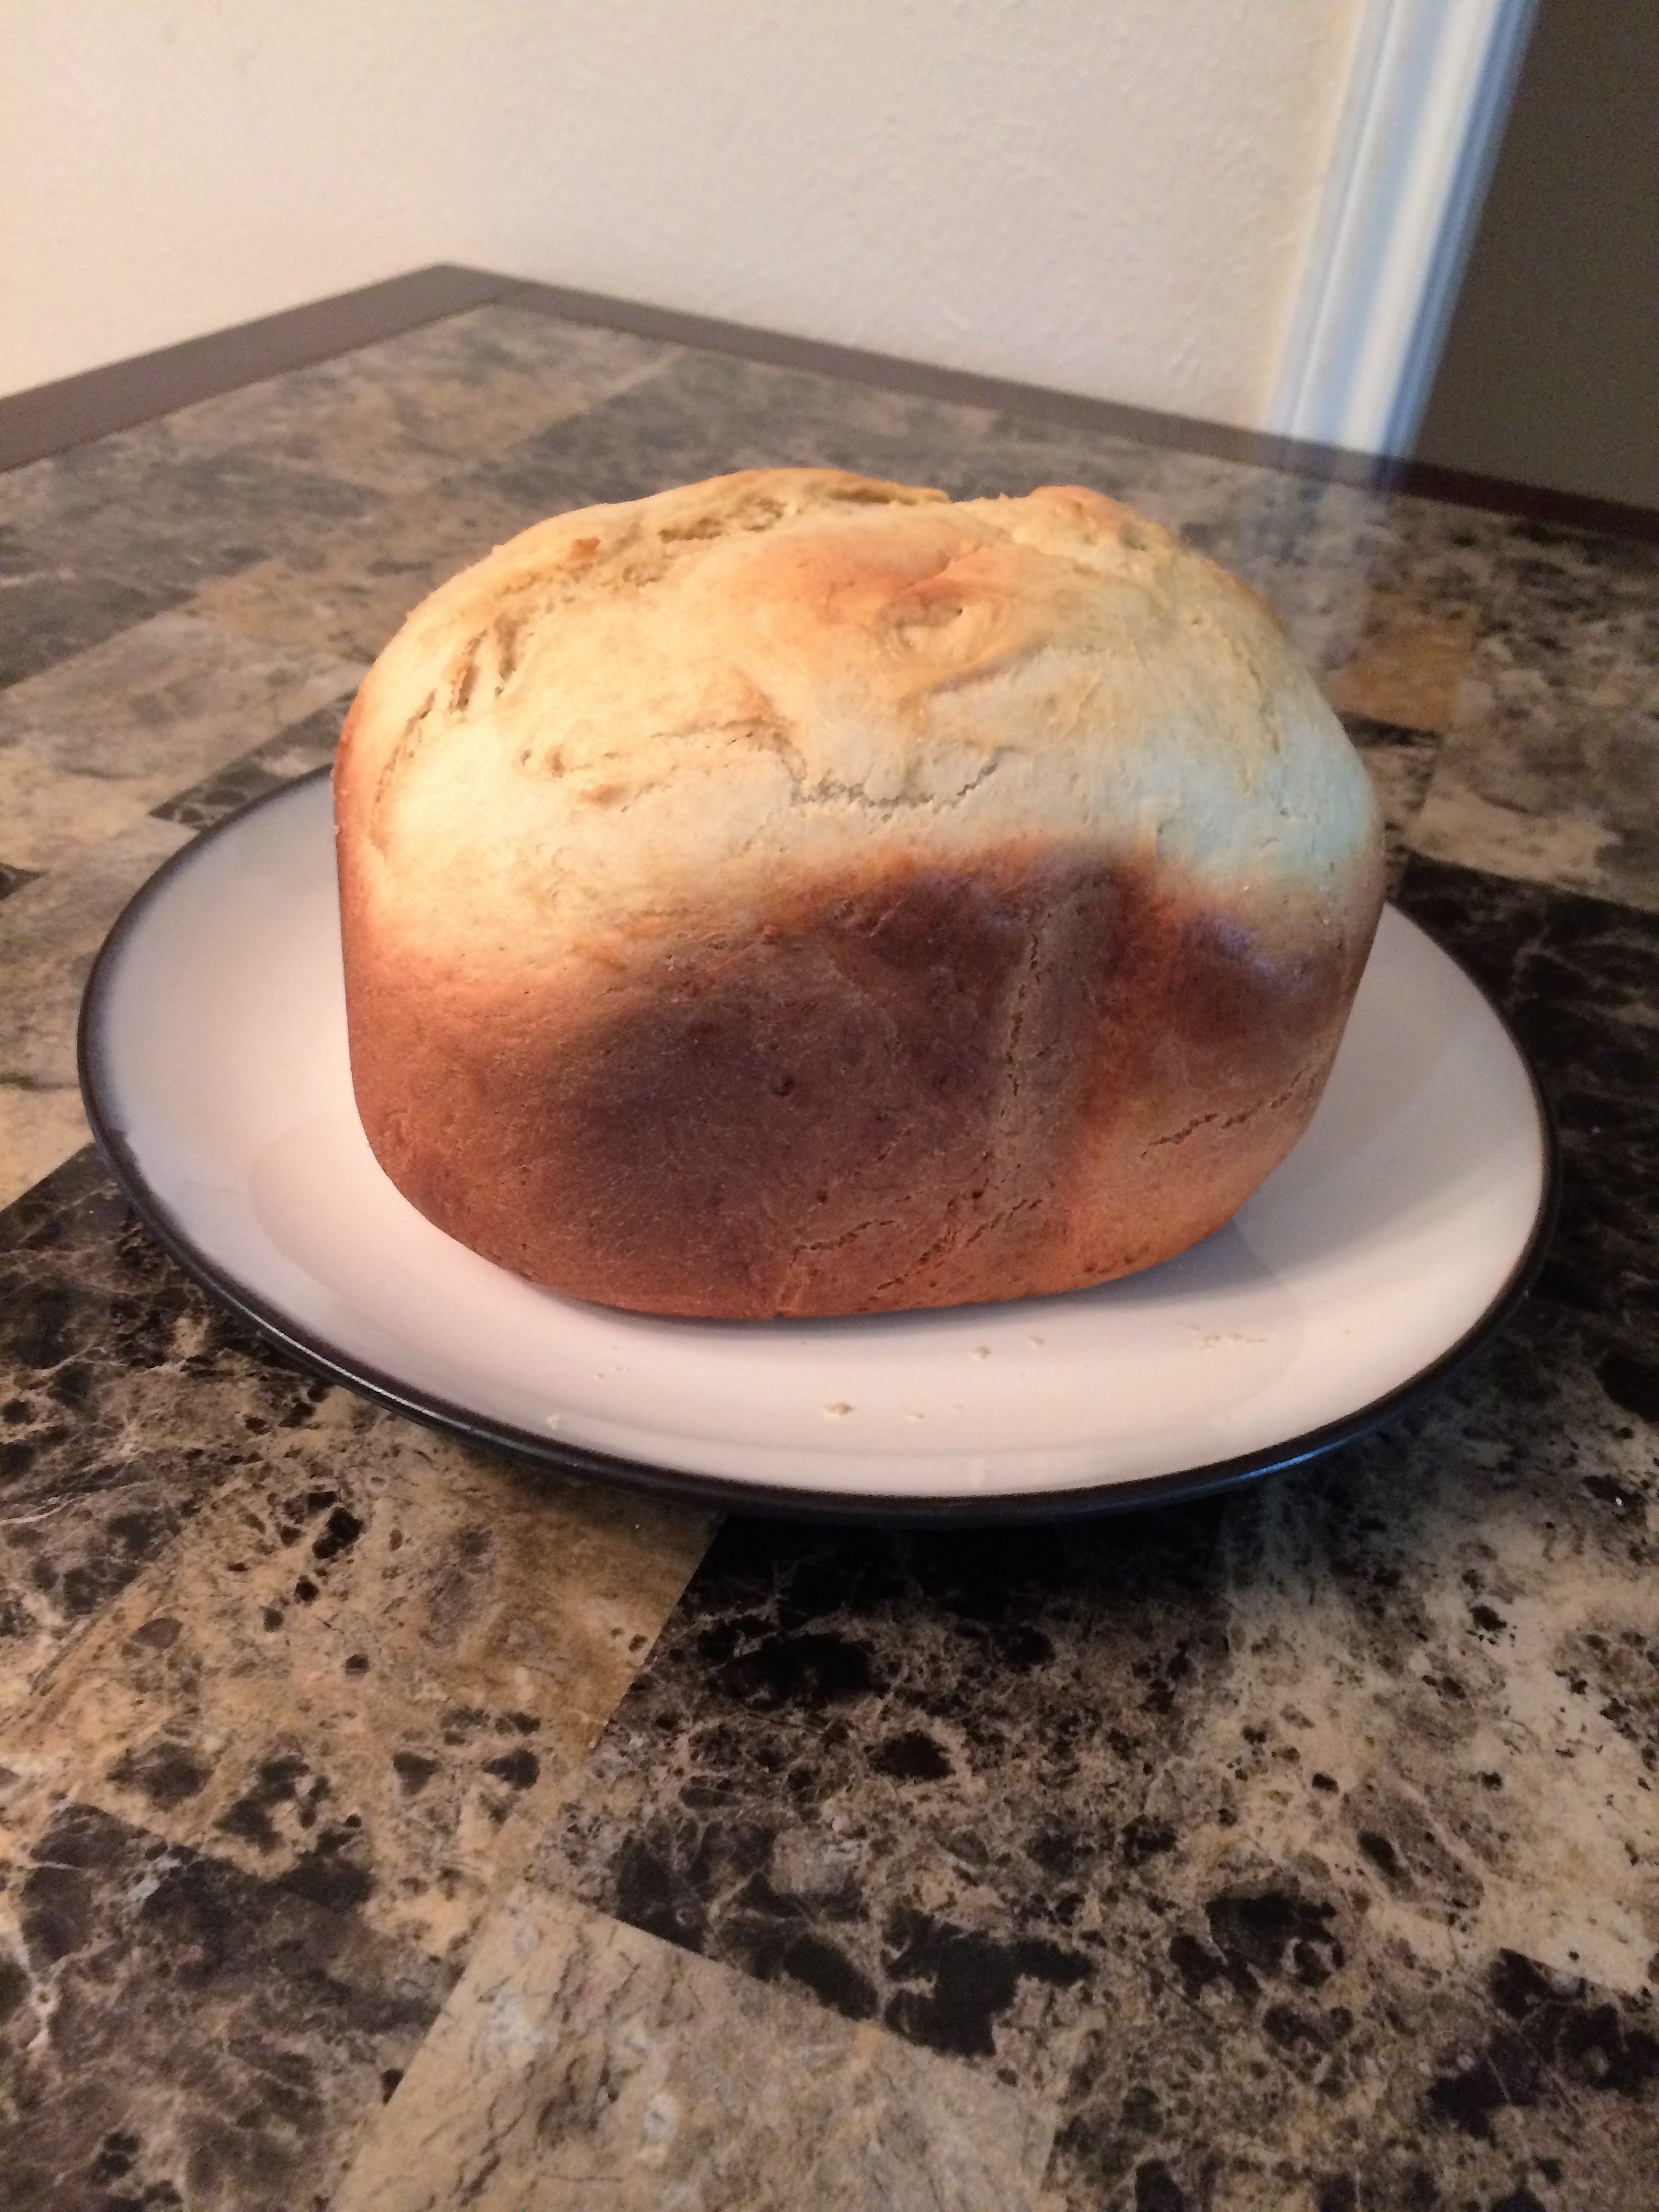
Bread Machine Express Bake White Bread and Cajun Butter

Ingredients:

1 cup plus 2 tablespoons (9 ounces) of hot water

2 tablespoons canola oil

2 tablespoons of sugar

1 teaspoon salt

3 cups of white flour

5 teaspoons bread machine yeast

Place into bread machine pan in this order:  water, oil, sugar, salt and flour.

Make and indentation with finger on one side of flour and add yeast so it doesn’t touch liquid.

Select the Express bake option on your bread machine.

(Recipe Source:  SparkRecipes)
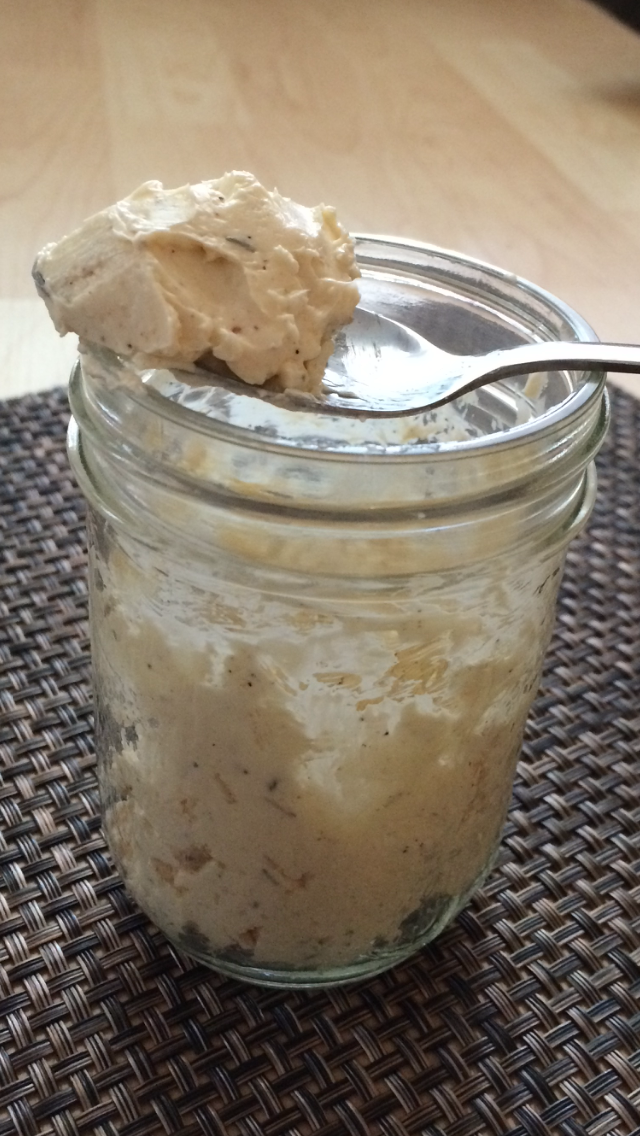
Cajun Butter

Ingredients:

1/2 cup butter, softened

1 teaspoon brown sugar

1 teaspoon chili powder

1/2 teaspoon dried thyme

1/2 teaspoon cayenne pepper*

1/4 teaspoon garlic powder

1/4 teaspoon pepper

In a small bowl, combine all ingredients.  Spread over corn on the cob or bread.

(Recipe Source:  tasteofhome.com)

*Note:  Because I’m a big chicken, I omit the cayenne pepper.  🙂  Enjoy!

Tawnya

Reason Number One Million….

Tuesday, July 5, 2016

Reason number one million why my sister is the best sister ever….  This morning I mentioned to her that my jeans are getting a little bit snug… she quickly called out my dryer for shrinking my clothes.  I hope your morning has been beautiful!  Here’s what was cooking in my kitchen – Breakfast Pork Chops or maybe Breakfast for Dinner Pork Chops!  Y’all have a great Tuesday!

 IMG_2011

Breakfast Pork Chops

Ingredients:

4 pork chops, thin cut

1 tablespoon olive oil

Salt, pepper, and seasoned salt to taste

1 cup chicken broth

Season both sides of pork chops with salt, pepper, and seasoned salt; set aside.  Add oil to large skillet and heat on medium-high.  Add pork chops to hot pan and sear each side – about 2 minutes per side.  After searing, pour chicken broth into pan and bring to a boil.  Allow to boil for about 1 minute.  Cover and reduce heat to medium-low.  Let simmer for 20 minutes.

(Adapted from wikiHow)

Tawnya

Happy 4th of July!

Monday, July 4, 2016

Happy 4th of July, everyone!  I hope you all have had a blessed day!  We stuck around the house today and, now that we’ve eaten until we can’t breathe, we’re seriously considering resting our eyes.  Not napping, of course, just resting our eyes. 🙂  I hope your day has been everything you’d hoped it would be and much, much more.  Here’s what I had cooking today – Slow Cooker Baby Back Ribs and Southern Style Baked Beans (the only recipe I use).  Enjoy! 

IMG_2031 IMG_2022

Slow Cooker Baby Back Ribs

Ingredients:

1 slab of baby back ribs – cut into pieces as necessary to fit slow cooker

1 sliced onion

1/4 cup of water

1/4 teaspoon salt

1/2 teaspoon black pepper

1/4 teaspoon smoked paprika

1 bottle of your favorite barbecue sauce

Add sliced onion and water to slow cooker.  Mix salt, pepper and paprika and rub mixture onto ribs.  Place ribs in slow cooker.  Cook on low for 8 hours or high for 4 hours.  (8 hours on low is best.)

After cooking in slow cooker, carefully remove ribs and place in roasting pan.  Coat ribs with barbecue sauce and bake in oven at 375 degrees for about 10-15 minutes.  This really sets in the barbecue sauce and caramelizes it slightly for an incredible flavor.

(Via Easy Recipe Depot)

IMG_2035

Southern Style Baked Beans

Ingredients:

2- 28 ounce cans of regular pork n’ beans

1/2 cup ketchup

1/2 cup barbeque sauce

1/4 cup brown sugar

1 tablespoon yellow mustard

1 tablespoon Worcestershire sauce

1/4 teaspoon garlic powder

1/4 teaspoon pepper

6 slices thick cut bacon, sliced into 1 inch pieces

Heat oven to 350 degrees.  Combine ketchup, barbeque sauce, brown sugar, mustard, Worcestershire sauce, garlic powder and pepper in a medium sized bowl.  Mix well; set aside.

Open each can of beans and pour off all the standing liquid at top can.  Discard liquid.  Add beans to ketchup mixture and stir gently until well combined.  Pour into shallow 2 quart baking dish.

Cut bacon into 1 inch pieces and place pieces in a single layer on top of beans.  Bake beans, uncovered, for one hour.

(Via South Your Mouth)

IMG_2033

THE END!  🙂

Tawnya

Fall Casserole

Sunday, July 3, 2016

Okay, y’all, I’m calling it like I see it and labeling this a Fall dinner… right here in the middle of summer.  I’ve gone from pumpkin recipes to sweet potato casserole in a matter of days and I just can’t explain it.  This could be a serious problem for me, because while you were planning your 4th of July menu, I was cooking a very mini-Thanksgiving dinner.  And you thought I was kidding when I said I was missing Fall.  🙂  Take a look at the recipe for Broccoli and Rice Casserole and the recipe for Holiday Sweet Potato Bake from Easy Everyday Cooking.  The Broccoli and Rice Casserole recipe is the best I’ve ever had, but that goes without saying – it came from my Mom’s kitchen.  I hope your Sunday is wonderful!

IMG_2003

My Mom’s Broccoli and Rice Casserole

1 cup of boiling water and 1 cup of instant rice (5 minute rice), cooked according to package directions

10 ounce package frozen, chopped broccoli, cooked according to package     directions and drained

1 can cream of chicken soup (10.75 ounces)

8 ounces Velveeta cheese, cut into small cubes

half stick of butter

Salt to taste

Heat oven to 350 degrees.  Butter a baking dish and set aside.  Cook instant rice according to package directions.  Cook frozen broccoli according to package directions and drain.

In a medium sized bowl, add cream of chicken, Velveeta cubes and butter.  Add cooked/drained broccoli.  Add cooked rice and salt to taste.  Stir until well combined.  Pour into buttered baking dish and bake for 20-25 minutes until bubbly.  Enjoy!

(From my Mom’s kitchen)

Holiday Sweet Potato Bake

4 large sweet potatoes, peeled and cut into chunks

1/2 cup of butter, softened

3 eggs

1 teaspoon vanilla extract

1 tablespoon lemon juice

1 cup sugar

1/2 cup evaporated milk

1 teaspoon cinnamon

1/2 teaspoon salt

1/2 cup chopped pecans, optional

1/2 cup flaked coconut, optional

2 cups mini marshmallows

Heat oven to 350 degrees.  Butter a baking dish and set aside.  Peel sweet potatoes and cut into chunks.  Place in a pot and add enough water to cover potatoes.  Boil until tender, drain.

Combine cooked and drained sweet potatoes and butter in a large bowl.  Mix until well blended.  Add eggs, vanilla, lemon juice, sugar, evaporated milk, cinnamon and salt; mix well.  Stir in pecans and coconut.*

Spoon sweet potato mixture into buttered baking dish and bake for 20 minutes.  Remove from oven and arrange marshmallows over top.  Bake for 3-5 minutes or until marshmallows are puffed and golden brown.

(Via Easy Everyday Cooking)

*I omit the pecans and coconut.  Also, the marshmallows are my favorite part, so there’s a good chance I add a lot more than 2 cups.  I know!  I can’t help it! 🙂  Enjoy!

Tawnya

Ranch Potato Salad

Saturday, July 2, 2016

Since the 4th of July is just around the corner, I thought I’d share one of the best side dishes ever!  Ranch Potato Salad – it’s definitely a crowd pleaser, so it’s perfect for your 4th of July celebration and it’s a nice switch from your typical potato salad.  Besides, it involves bacon and ranch dressing, so who could ask for more!  Now, we certainly can handle the ranch dressing around here, so I start with 8 ounces and taste and go from there.  Delicious and it’s the perfect side to my Zesty Shredded Chicken Barbecue.  You’ll be done in 30 minutes or so and off to celebrate with those you love most.  Can’t beat that!  I hope your Saturday is wonderful!  Enjoy your weekend!

IMG_1988

Ranch Potato Salad

2 pounds red potatoes, cut into bite sized chunks

1 bottle (8 ounces) ranch salad dressing

1 cup shredded cheddar cheese

1 package (2.8 ounces) real bacon bits

1/4 teaspoon pepper

Dash of garlic powder

Place potatoes in a large saucepan and cover with water.  Bring to a boil.  Reduce heat; cover and simmer for 20-25 minutes or until tender.

In a large bowl, combine the remaining ingredients.  Drain potatoes and add to ranch dressing mixture.  Gently toss to coat.  Give it a taste and adjust accordingly.  Enjoy!

(Via Taste of Home – Most Requested Recipes Edition)

Tawnya

Chewy Chocolate Chip Cookies

Friday, July 1, 2016 

Today called for chocolate.  Any form of chocolate would do, but I had my heart set on cookies.  Chocolate chip cookies and these are the best.  This has become my go to recipe, because they bake perfectly every time.  They’re not little, skinny cookies, either, because that won’t do!  They’re perfect with plenty of chocolate chips in every bite.  I’ll probably have a couple and then a couple more, and that’s okay, because this day did call for chocolate, right?  🙂  Happy Friday everyone!  I hope your weekend is wonderful!

IMG_1987

Chewy Chocolate Chip Cookies

Ingredients:

2 cups all-purpose flour

1/2 teaspoon baking soda

1/2 teaspoon salt

3/4 cup unsalted butter, melted and slightly cooled

1 cup packed brown sugar

1/2 cup white sugar

1 tablespoon vanilla extract

1 egg

1 egg yolk

2 cups semisweet chocolate chips*

Preheat oven to 325 degrees.  Line cookie sheets with parchment paper.

Sift together the flour, baking soda and salt; set aside

In a medium bowl, cream together the melted butter, brown sugar and white sugar until well blended.  Beat in the vanilla, egg, and egg yolk until light and creamy.  Mix in the sifted ingredients until just blended  Stir in the chocolate chips by hand using a wooden spoon.  If your butter was still hot when you added it your dough may be really wet at this point.  Let it rest at room temperature for a couple of minutes.

Place about 1/4 cup of dough onto cookie sheet (form the dough so it is a tall scoop, not wide).  Bake, reversing position of cookie sheets halfway through baking, until cookies are light golden brown and outer edges start to harden yet centers are still soft and puffy (approximately 11-14 minutes).*  Do not overbake.

Cool cookies on sheets until able to lift without breaking.  Transfer to a wire rack to cool.

(Via The Girl Who Ate Everything)

*For the rest of my life, I may never use anything but Hershey’s Milk Chocolate Chips. 🙂  My baking time is more like 17-18 minutes, so do check and adjust accordingly.  Enjoy!

Tawnya

Italian Meatball Sub

Thursday, June 30, 2016

I have a confession – I’m hopelessly addicted to Italian food.  I serve an Italian dish sometimes once a week and I can’t think of one I don’t like.  I need an intervention, but it won’t be easy.  Not if I keep finding recipes like this one.  I love the meatball recipe by The Pioneer Woman.  It’s so easy to prepare and once you get everything in the pan you can walk away for 20 minutes.  Today, I used that time to text back and forth with my sister, because she’s fabulous!  🙂  I had a feeling this recipe would make for an amazing sub sandwich and it truly did.  Delicious!  Try it; you’ll love it and then we’ll both need an intervention!  I hope your day is incredibly amazing! 

   IMG_1981

Italian Meatball Sub

Ingredients:

1 pound ground beef

1/2 cup Panko bread crumbs

1 clove garlic, minced

1/2 teaspoon salt

Black pepper

1/2 cup milk

2 tablespoons Olive Oil

1/2 of a medium onion, diced*

1 large jar of Marinara sauce*

Mozzarella cheese, shredded

Sub sandwich rolls

Mix meat with bread crumbs, garlic, salt, pepper, and milk.  Knead together with hands.  Roll into heaping tablespoon-sized rolls.

Heat olive oil in a large skillet over medium heat.  Add onions and cook for one minute.  Add meatballs between the onions and brown for one minute.

Pour in jar of marinara and shake pan gently to mix.  Cover and allow to simmer for 20 minutes.

*When ready to serve, slice sub roll and spoon meatballs onto roll, top with sauce and cheese.

(Via The Pioneer Woman)

Note:  I have always used Ragu Old World Style Traditional sauce.  I slice my onion into strips.  I turn my oven on broil and spread butter on the inside of sub roll and toast before spooning on the meatballs and cheese.  Finally, I place back into oven for a tiny bit to melt cheese.  Enjoy!

Tawnya

Pumpkin Doughnuts

Wednesday, June 29, 2016

I’ve noticed a trend at my house.  One that occurs about this time every summer — we start wishing for Fall.  The foliage, the cool, crisp air, and those signature smells that simply define Fall… the air conditioner kicking on at full blast brings me back to reality.  🙂  When we start thinking about Fall around here, I pull out the recipes that are all things pumpkin.  It’s Pumpkin Doughnuts today and they’re amazing.  If you’re wishing for Fall, too, try these.  It’s only June, of course, but your kitchen will smell like October.  I hope your day is as perfect as Fall.

IMG_1976

Pumpkin Doughnuts

Ingredients:

1-3/4 cup + 2 tablespoons all purpose flour (measure 2 cups remove 2 tablespoons)

1-3/4 teaspoon baking powder

1-1/4 teaspoon salt

3/4 teaspoon ground cinnamon

1/4 teaspoon ground nutmeg

1/4 teaspoon ground ginger

3/4 cup granulated sugar

3/4 cup packed light-brown sugar

1/2 cup canola oil

3 large eggs

1-1/2 cups canned pumpkin puree

1 teaspoon vanilla extract

Coating

1/3 cup granulated sugar

1-1/4 teaspoon ground cinnamon

Preheat oven to 350°.  Butter 18 doughnut wells (three 6-hole pans).

In a mixing bowl, whisk together flour, baking powder, salt, cinnamon, nutmeg and ginger for 20  seconds, set aside.  In a separate large mixing bowl, whisk together granulated sugar and brown sugar until well combined (break up clumps of brown sugar).  Add canola oil, eggs, pumpkin puree and vanilla extract and, using an electric hand mixer, blend until mixture is well blended.  Add dry ingredients to pumpkin mixture and mix with electric mixer until well combined.  Spoon or pipe batter into doughnut wells, filling each about 3/4 full (a scant 1/4 cup in each).

Bake in preheated oven until toothpick inserted into center comes out clean, 13-16 minutes.  Cool doughnuts slightly.  Meanwhile, in a large sealable bag, shake together 1/3 cup sugar and 1-1/4 teaspoon cinnamon until well combined.  Add one warm doughnut to bag at a time, seal and shake with sugar mixture to coat.  Place on wire rack to cool completely.  Store in airtight container.

(Via cookingclassy.com)

Just to sweeten the deal a bit, I add a super tasty glaze.  Even makes them look a little fancy.  🙂  Enjoy!

Glaze

1 cup powdered sugar

1/2 teaspoon vanilla

2 tablespoons milk

Stir ingredients together and drizzle over cooled doughnuts.

Tawnya

Zesty Shredded Chicken Barbecue

Tuesday, June 28, 2016

One of my favorite cookbooks is The Crockin’ Girls Slow Cookin’ Companion.  It was a gift and I use it constantly.  I can’t resist a great slow cooker recipe and this book has tons.  One of my go to recipes is the Zesty Shredded Chicken Barbecue.  It’s just not summer without barbecue, but Texas summers are scorchers.  Way too hot to be grilling outdoors!  Slow cooker barbecue – problem solved. 🙂  Try it; you’ll be glad you did.  It’ll save the day and you won’t even have to sweat for it.  I hope your summer day has been cool and fabulous!

IMG_1968

 Zesty Shredded Chicken Barbecue

6 boneless, skinless chicken breasts, frozen

1 (12 ounce) bottle barbecue sauce (flavor of your choice)

1/2 cup Italian salad dressing

1/4 cup brown sugar

2 tablespoons Worcestershire sauce

1 or 2 onions, sliced *

Sandwich/sub rolls, toasted

Place frozen chicken in slow cooker (stacking is fine).  In a bowl, mix together the barbecue sauce, Italian dressing, brown sugar, and Worcestershire sauce.  Pour over frozen chicken.  *Slice desired amount of onion and add to the slow cooker.  Cover and cook on low for approximately 4 hours.  Remove chicken and shred with two forks, then return the shredded chicken to the slow cooker.  Cook on low for an additional 1 to 2 hours to soak up the sauce.  Add the shredded chicken and onions to the toasted rolls.

(Via The Crockin’ Girls Slow Cookin’ Companion)

Note:  *I use onion powder in place of chopped onions by adding a couple of dashes into barbecue sauce/Italian dressing mixture.  And… I’m hooked on Sweet Baby Ray’s Original Barbecue Sauce.  I always have bags of frozen chicken breast tenderloins on hand, so I use 12 frozen tenderloins for this recipe.  Don’t you love that you can use frozen chicken!?!?  If I’m going to be home, I cook on high for 4 hours.  If I’m away all day, I cook on low for 8 hours.  To save time, I typically omit the final step of placing shredded chicken back into slow cooker for 1-2 hours.  I place cooked tenderloins in a bowl, ladle sauce on top, shred with two forks and place desired amount on a hamburger bun. 🙂  Enjoy!

 Tawnya

Mom’s Chili Enchiladas

Monday, June 27, 2016

IMG_1436

This enchilada recipe came from my Mom’s kitchen and I know you’ll love it.  For me, it falls in the realm of comfort food.  I remember watching my Mom make these; I know my sister, Angie, does too.  That’s Angie in the picture – best sister on the planet.  My Mom only used Wolf Brand Chili for these – any other brand was out of the question.  She made two pans – one with onions, because that’s how my Dad liked them, and one without onions for Angie and me.  She spoiled us and enjoyed every minute.  I’ve made these enchiladas countless times, but for some reason, today, it has jogged memories of my childhood – and my childhood was awesome!  As hard as I try, my enchiladas never turn out like my Mom’s; I lack her finesse.  Mine turn out like a casserole and I tend to get chili everywhere.  Those are the memories my daughters will have of me, but maybe, just maybe, they’ll say I had finesse, too, and they’ll say their childhood was awesome!  🙂  I hope your day has been a happy one!

IMG_1387 IMG_1780

Mom’s Chili Enchiladas

IMG_1963

Ingredients:

24 ounce can of Wolf Brand Chili, No Beans

1/8 cup of water, Optional

1 pound of ground beef

8 ounce can of tomato sauce

1/2 teaspoon Cumin

1/4 teaspoon garlic powder

Dash of onion powder, Optional, I use this instead of chopped onions

Salt and Pepper, to taste

Chopped red onion, Optional

Shredded cheddar cheese (at least 2 cups or enough to fill enchiladas and sprinkle over top)

Corn tortillas

(I use an 8 x 11 casserole dish, which serves 9 enchiladas.)

Heat oven to 350°.  Cook ground beef, drain and return to pan.  Add tomato sauce and seasonings to ground beef and allow to simmer.  Pour chili into separate pan and heat to a boil, then reduce heat to low.  (Note:  I add about 1/8 cup of water to chili to thin the consistency.  This makes dipping the tortillas somewhat easier.)  Dip corn tortillas, one at a time, into chili.  Lay tortilla on a plate or in your dish and fill with a couple tablespoons or so of beef mixture and top with cheese.  Roll tortilla and place in dish.  Continue until you have filled the desired amount of tortillas or until your dish is stuffed full.  If you have leftover beef, layer it on top.  Pour remaining chili on top to cover.  (This is where my Mom would add onions!)  Cover with cheese and bake until bubbly and cheese is melted.  Enjoy!

Tawnya