Sunday, August 7, 2016
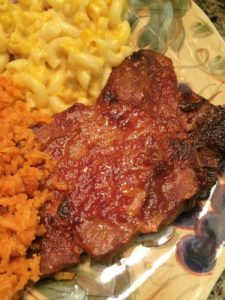
 These are the best baked pork chops I’ve ever tasted! So full of flavor, and once you read the list of ingredients, it will make perfect sense. It’s one of those meals where you’re so completely stuffed you couldn’t possibly eat another bite, but you’re seriously considering going back for more, because it was just that good. You know what I’m talking about, right!?!? There are a zillion reasons why these incredible pork chops will stay in my meal rotation… the number one reason, though, is my family loves them. The recipe comes together quickly and easily with ingredients that are typically on hand and, oh my goodness, the kitchen smells amazing while the pork chops are cooking. Fabulous! Give this recipe for Incredible Baked Pork Chops a try real soon. You’ll be glad you did – it’s another keeper! Have a beautiful Sunday!
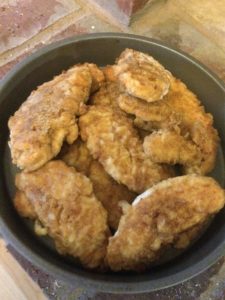
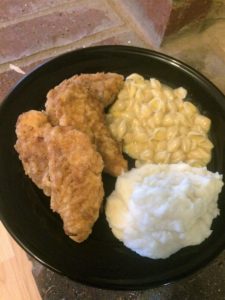
Incredible Baked Pork Chops
Ingredients:
2 tablespoons soy sauce
4 tablespoons vegetable oil
2 tablespoons Worcestershire sauce
2 teaspoons lemon juice
4 tablespoons brown sugar
4 tablespoons ketchup
6 pork chops
Instructions:
Preheat oven to 350 degrees.
In a small bowl, thoroughly blend soy sauce, vegetable oil, Worcestershire sauce, lemon juice, brown sugar, and ketchup.
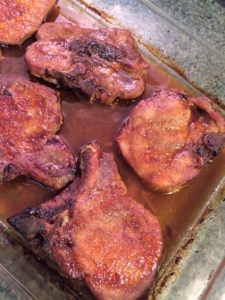
Place pork chops in a medium baking dish and spread with half the sauce.
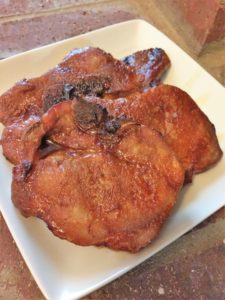
Bake pork chops 30 minutes in the preheated oven. Flip pork chops to other side and spread with remaining sauce. Continue baking 30 more minutes. At the last 3-5 minutes of baking, turn the oven to Broil. This will allow the sauce on top to caramelize. Enjoy!
(Adapted from Pinterest)
♥Tawnya