Pumpkin Whoopie Pies… Now, pumpkin, I totally get, but where does Whoopie Pie fit in? Let’s do a bit of research, shall we? The nerd in me is loving this part, so thank you for humoring me… It is believed the first Whoopie Pie was made in the 1920s. Some give the Amish credit for making the original pie – chocolate cake-like cookies with a vanilla cream center. An old Amish legend says that children would squeal with delight and yell “whoopee” when they saw they were getting one of these treats. Over the years, there has been some variation in flavors, but the appearance and shape has remained the same.
I think I’ve tried one of every Whoopie Pie out there and I love them all. What’s not to love… a little sandwich cookie cake smothered in a filling I could just sit and eat by the spoonful and, besides, the name makes me giggle. 🙂 Pumpkin is my favorite, though, hands down!
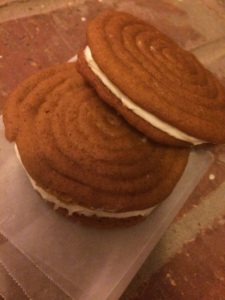
Pumpkin Whoopie Pies
Ingredients:
For the cookies:
3 cups all purpose flour
1 tablespoon cinnamon
1 teaspoon baking soda
1 teaspoon baking powder
1 teaspoon ground ginger
1/2 teaspoon salt
1/2 teaspoon ground nutmeg
1/4 teaspoon ground cloves
1 cup brown sugar
1 cup white sugar
1 cup vegetable oil
15 ounce can of pumpkin
2 large eggs
1 teaspoon vanilla extract
For the filling:
8 ounce package of cream cheese, room temperature
1/2 cup (1 stick) unsalted butter, room temperature
2 cups powdered sugar
1/2 teaspoon vanilla extract
Pinch of cinnamon (or more to taste)
Instructions:
Preheat oven to 350 degrees.
In a large bowl, sift together the dry ingredients (first eight items).
Beat together the brown sugar, white sugar, oil and canned pumpkin. Beat in the eggs one at a time, then the vanilla.
Slowly beat the dry ingredients into the wet ingredients until just combined.
Using a pastry bag with a round tip or a zip-top bag with one corner snipped, pipe out circles of batter, starting from the middle and working outward. Circles of batter should measure about two inches in diameter.
Bake for 11 minutes.
While the cookies are baking and cooling, make the filling. Beat together the cream cheese and butter until smooth, followed by the powdered sugar, vanilla and cinnamon. Pipe filling onto one cookie, then place another cookie on top to make a sandwich. Enjoy!
(Recipe Source: Pinterest)
(History Source: leaf.tv)
♥Tawnya


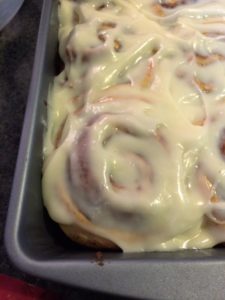
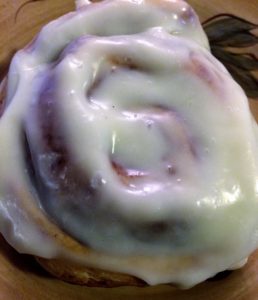
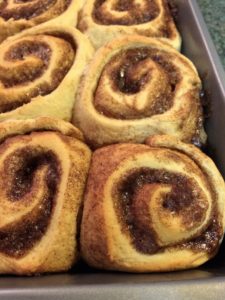 Note: I baked my cinnamon rolls for 30 minutes. I took them out of the oven when they had a kiss of brown, just as the recipe from The Stay at Home Chef instructed. They were just right! Enjoy!